Showing posts with label diy. Show all posts

Wednesday, July 17, 2013

green {clean}ing


since moving into our house, there have been many things that have needed to be tended to that I had no idea how to do. from a stinky dishwasher to keeping the weeds from growing, there were just not things that I ever had to deal with or think about when we lived in the condo. each time I would go out to the internet, and search for a solution to my issue, and in most cases, the solution involved vinegar.

i had never given this stinky substance a thought before. why would I ever want to use it for anything, except making a salad dressing?! who would have thought that vinegar could serve so many purposes, and at the same time save you so much money. a gallon of vinegar costs only a couple of bucks as opposed to the costly cleaning products that it can replace. even better, it's better for you, you children & pets, and the environment.

the first time I faced a dilemma involving a vinegar solution was when we installed our bamboo floors. i was worried about using any products on the floor because i didn't want to ruin the finish, or create any films. i had tried to read about the floors and realized quickly that there were a lot of don'ts vs dos, which scared me. i discussed it with my mom, and she suggested the vinegar solution. she said my grandmother had sworn by it, and with that i was intrigued. the vendor that we used to purchase the flooring actually had suggested to use it with warm water.

Vinegar Floor Cleaner

1/2 cup distilled white vinegar
1 gallon warm water

i have found many great cleaning tips & tricks to using vinegar. here are a few that i like. i have modified some of these, but the base of the "recipes" will get you started.


learn how to remove oil based stains from carpet using vinegar, dish soap, and baking soda


this blog post give you a summary of the best cleaning secrets: cleaning your microwave, cleaning your fridge, cleaning/deodorizing your dishwasher. enjoy!


using water, vinegar and baby shampoo, your brushes will feel like new!


add 3/4 cup vinegar to your rinse cycle and your towels will feel like new. vinegar also battles mildew for an added bonus!


use this approach to cleaning any hard water deposits or limescale that is built up on water fixtures.


how to clean burnt pots and pans


using vinegar & dawn dish soap,  you can easily clean your shower & tub. put the solution in a handled sponge to make it easier to apply


vinegar mixed with olive oil can be a great wood polisher. use vinegar alone and it can easily disinfect any wood surface!


vinegar can be used outside too! here are just a few examples of how you can take your new best friend outdoors for the summer!

if you don't feel like you have enough examples of things you can use vinegar for, check out this list of 150+ uses. the possibilities seem endless


Saturday, June 8, 2013

{magnet}ic

I saw this idea in a blog somewhere, and I loved the idea. I can't remember where it was, so I'm sorry for not giving credit where it is due. I don't even remember if it was a tutorial or just a suggestion. Either way, I felt inspired to make framed fridge magnets. 

The cuties in these pics are my little nieceys, Maren (3) and Daphne (1). 

I liked the idea of a fancier fridge magnet, and to give the refrigerator a gallery feel instead of eclectic magnets holding up a printed 4x6. 

I headed to the Walmart and found everything I needed for super cheap. 

You will need:
-small frames
-magnet strips
-paint
-paintbrush/sponge 
-hot glue & gun

I got the paint for 50 cents, the frames for 95 cents, the magnetic strips (18 strips) for 95 cents, and the sponges for $1. I had the glue gun. 


I got frames in various sizes to add a little interest to my "gallery". I also used a couple of colors that went well with my kitchen. 

You want to first remove the glass and backing from the frame. 

Paint the frames to your liking. If you aren't painting, you can skip to the next step. When painting make sure to not let the paint drip into the inside. Allow to dry for about 1-2 hours depending on the paint type. 

Turn the frame over to prepare the frames for the magnetic strips. 

Hot glue the magnetic strips onto the frame and cut if necessary. My strips were adhesive, but I wasn't confident that it would hold the weight of the frame.  Allow the glue to dry. 

Put the glass and photos into the frame, as well as the backing. If the frame was a tabletop frame, make sure to rip off the stand before sticking to the fridge. 


Sunday, June 2, 2013

{bench}ing an old cushion


As I do projects, I need to remember to do all the appropriate before pictures to make sure I really give the full effect. So since there is nothing to show let's start with the finished product:
 ta-da!


The story behind this bench is that is had a blah colored cushion which had managed to get watermarks on it somehow. As a piece that is at the entry to our house, it's not the best impression of what else is inside. 

I got the idea to reupholster it, but hadn't given it much thought until yesterday. I was browsing through Walmart of all places, and was curious about their fabrics. I was instantly drawn to this cream and blue print. 


The print was subtle and pretty, and blue is a theme on our main floor. It was the perfect voice. Price tag: $0.84/yard!! 

I debated about how to accomplish this job since the cushion is all foam. I decided to get a piece of particle board to make sure I could a staple gun. This would give me the bet look so that I could ensure the fabric was tight against the cushion. 

I headed to Home Depot, our home away from home. Today's experience was less than helpful since no one wanted to help me or offer suggestions. I guess that's what I get for going during thebeginning of   the summer when everyone is trying to put in gardens and build decks. I almost left the store when I finally found the section I had been searching for. All the way in the back corner of the store were 2ft x4ft pieces of plywood and hardboard. For price sake, I chose the hardboard because I knew it would hold the staple just as we'll as the plywood that was $2 more. $5.50 and I was out of there. 
Now started the fun part. Here we go:
 This was the blah colored cushion. I first laid the fabric down and made sure the cushion was straight along the pattern. 
I placed the hardboard down on top of the cushion. I had cut this piece to be slightly smaller than my cushion so that I wouldn't see the edges when it was finished. 
 I ultimately don't want to see the hardboard when I'm finished so I stapled the fabric to the hardboard so that it mostly covered the cushion. However you want it to look, at least get the fabric stapled, in a straight line, to the hardboard. 
From here you want to cover the cushion like you are wrapping a gift. How I wrap is much different than how my husband wraps, so the next steps are open to interpretation. I made the fabric look like a paper airplane and staple the edge to the hardboard. I then cut off the excess so that my cushion lays flat on the bench.  
I repeated this on the other side. 

When I completed that step I was ready to "finish wrapping". I cut off about 6 inches of fabrics to that my fabric finished in the center of the cushion. I folded the insides at a 45 degree angle and started stapling to the hardboard. 

Make sure that the fabric is taut. It will make the finished product look more professional. Once complete you can flip over and make sure all looks good and finished. 

I was very pleased with how this turned out after only 30 minutes. A quick transformation! 


I even had some extra fabric left over and decided to attach it to a canvas for a quick piece of art! 


Wednesday, October 3, 2012

{envelope}d


as a follow up to my {thank}ful blog post, i'm going to gush about DIY envelopes. i absolutely loved the product of the thank you cards and envelopes, and just realized i should never have to buy another envelope again. all the supplies are in my house, and with the simple use of a template, the possibilities are endless! by pairing these with some beautiful stationary, cards, or treasures, the final product will look much more expensive than it is.

i have an idea in mind for something special, and this little project is going to make that idea come to fruition. i recently purchased a scoring board for a project, and just didn't realize how it would come in handy. even if you don't have a scoring board, a bone folder and a ruler will do the trick!

sending someone something special in the mail, or in person will take on a whole new experience for the recipient when they receive one of these handmade beauties.

let's begin:
  • determine the size envelope you will need.
  • find the paper, patterned or solid. you can also print a pattern onto cardstock to create your custom image. make sure to use paper that is heavy.
  • find a template to create this size. you can use an envelope you have, or look at this wonderful resource or here to find something that will work for you. if you don't find the size your are looking for, just measure the object you want to put in the envelope, and add 1/4 inch.
 

  • cut out shape, and score flaps
  •  to create the envelope, secure the three sides with glue or double-sided tape.
  • to add some more flair, add an envelope liner to your new creation with this tutorial
the result is going to beautiful, original, and from the heart, which makes it the best around!


Monday, September 24, 2012

{thank}ful


flowers courtesy of my wonder fiance & beautiful sister
as i mentioned, it was my birthday last week. as with any event that people do nice things for you, i had many thank yous to write. anyone who knows me can tell you that i'm pretty big on thank you notes. i believe i ordered my wedding thank you notes before my invitations were ordered! i just find that with how busy people are in their lives, any moment that they take out of their day to think of you, should be honored. i must thank my mother and grandmother for instilling in me the importance of thanking others.

at Michael's last week, i had picked up a pack of white cardstock paper to use for making favor tags for the wedding. that week they had a 50 pack of cardstock on sale for $2.50. i only used about 15 pages for my tags, so I had quite a lot left. it dawned on me to find a beautiful thank you note online, print and send. this would be much more cost-friendly than going and buying a pack of thank yous for $5-10 for 10 cards.

as I was searching, i found this fabulous website for making thank you cards, with matching envelopes! this site offered many varieties, and easy instructions for creating these cards & envelopes yourself! Not only do they have thank you notes, but also invitations! to create these cards, all you need is paper, printer, and a bone folder, or scoring table. i made these for $0.10, excluding the cost of my tools which I already owned.


this is the card & envelope i created.


{fall}ing

it seems that fall has definitely turned into my busiest season this year! it might have something to do with that event i have coming up in a few months. either way, i have been slacking on my blogging, and that is something i do not want to do! i find blogging to be very therapeutic and not doing it as often leaves my head filled with all of these ideas that I need to get out!

at the end of the summer, i started really "nesting" for the wedding. i had started to purchase all the things I was going to need to craft over the fall so that I would be ready for the holiday season, and wedding. while I feel accomplished with having all of these items, it is a little overwhelming to see all of things I need to do, literally.

so september has been quite busy, and so i'll catch up a little bit on what I've been up to.

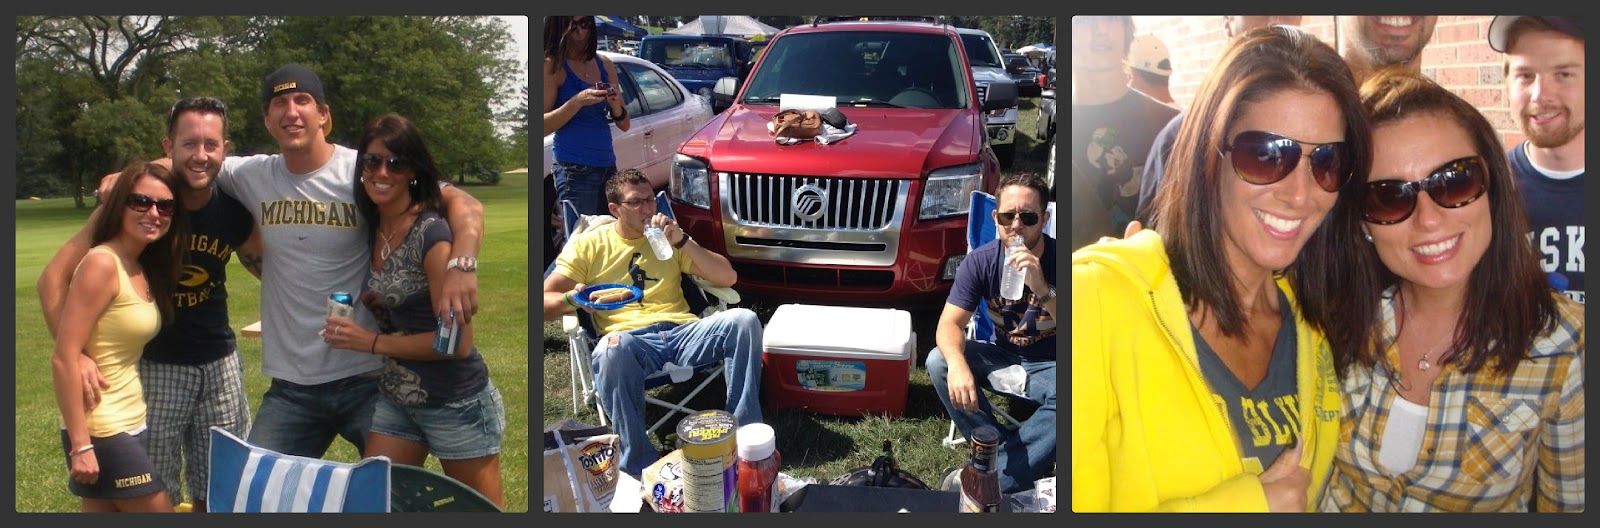
it seems that we have started a tradition with some good friends {sean + abby} to go to a Michigan. we did miss a year because Sean and Abby live in Florida, and were getting married (fair enough!). this year we went to the Michigan vs. Navy game. Michigan {barely} won! woo!


that same weekend we had our engagement pictures, which was very exciting! i was definitely a little nervous before the shoot since I hadn't had a professional picture taken of me since... senior pictures! nick, my fiance, did a great job! thank you so much to Amy Schrodt of Pure Amour Photography for being such a fantastic photographer! we took the pictures on Detroit's Belle Isle.


we celebrated a friend's 30th birthday the following weekend in Kalamazoo. it was a beautiful day spent with great people!


this past weekend we spent some time with our favorite couple and celebrated my birthday, and our friend Amanda's. we managed to register for our wedding, which was done very nicely with my fiance.

with all of the activities going on, i haven't slacked on the crafting. i started decorating for fall by creating a scrapbook paper wreath for our front door. this was super easy. this blog has some great ideas to make your own wreath. I also printed and framed some autumn subway art. look at this blog to find one for your mantle!


i managed to make our unity candles for the wedding. i'm not sure if this is the final product, but could be. i made these out of birch paper that I purchased from etsy, and used some ribbon and embellishments that i had. total cost of the project: about $15.


i have been working on some other things, but want to dedicate a different post to those ideas/projects. i hope everyone is having a great fall so far! xo